How to: Add a product
To add a product to your shop, you will first need to log in to your account and go to memberships on your student dashboard. Click on 'Committee dashboard'. You can then access the Products tab from your committee dashboard as shown below.

After you have clicked on the Products tab, you will need to create a new product from the right corner. This will open a new window where you will be able to add the product's name, description and price as shown below.
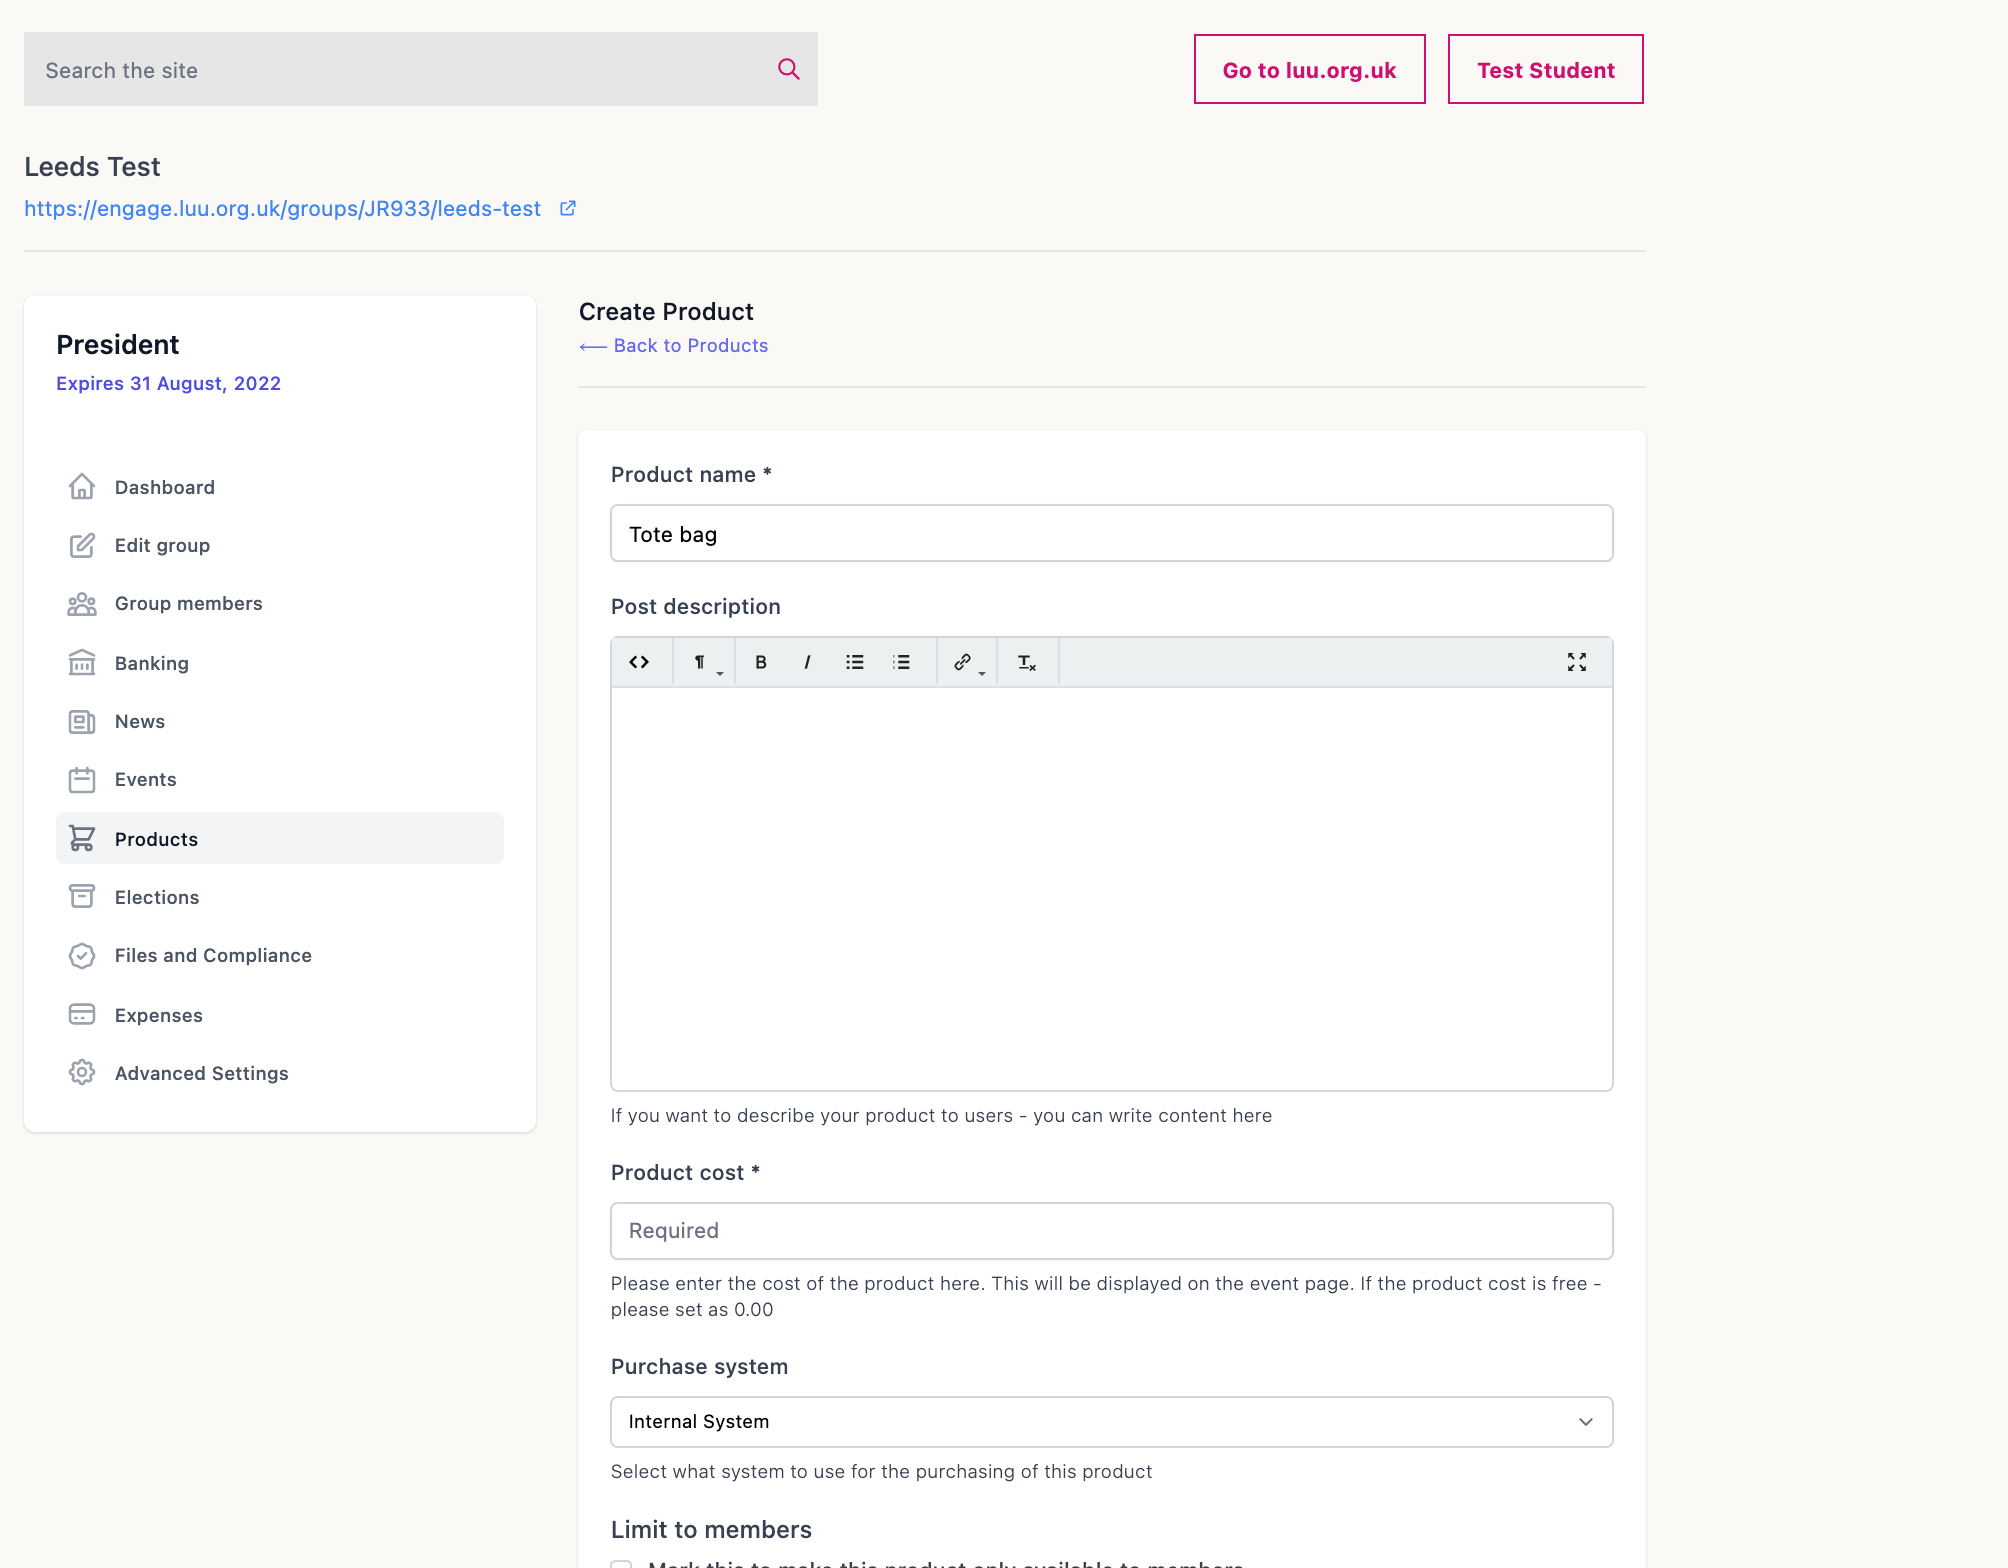
When setting up the product:
- Make sure you choose the "Internal System" as the Purchase system. If you are using a different platform to sell your tickets, such as Eventbrite, you can choose the "External Link" and add the URL link for the event.
- You can use the "Limit to members" tick box to either limit that product to your members-only or make it available to non-members as well.
- If you are only planning to sell a set number of products, then you can use the "Products available" field to set that. If you don't plan to have a limited number, then you can enter 0 in this field.
- You can use the "Maximum products per person" field to limit the number of products one person can buy.
- Finally, make sure to tick the Make active tick box for the product to be available on your shop. You can untick this field if you are no longer planning to sell that product. Once you are done, you can click on "Create Product" at the bottom to finalise the set-up and add the product to your shop.
All of the fields are shown in the image below.

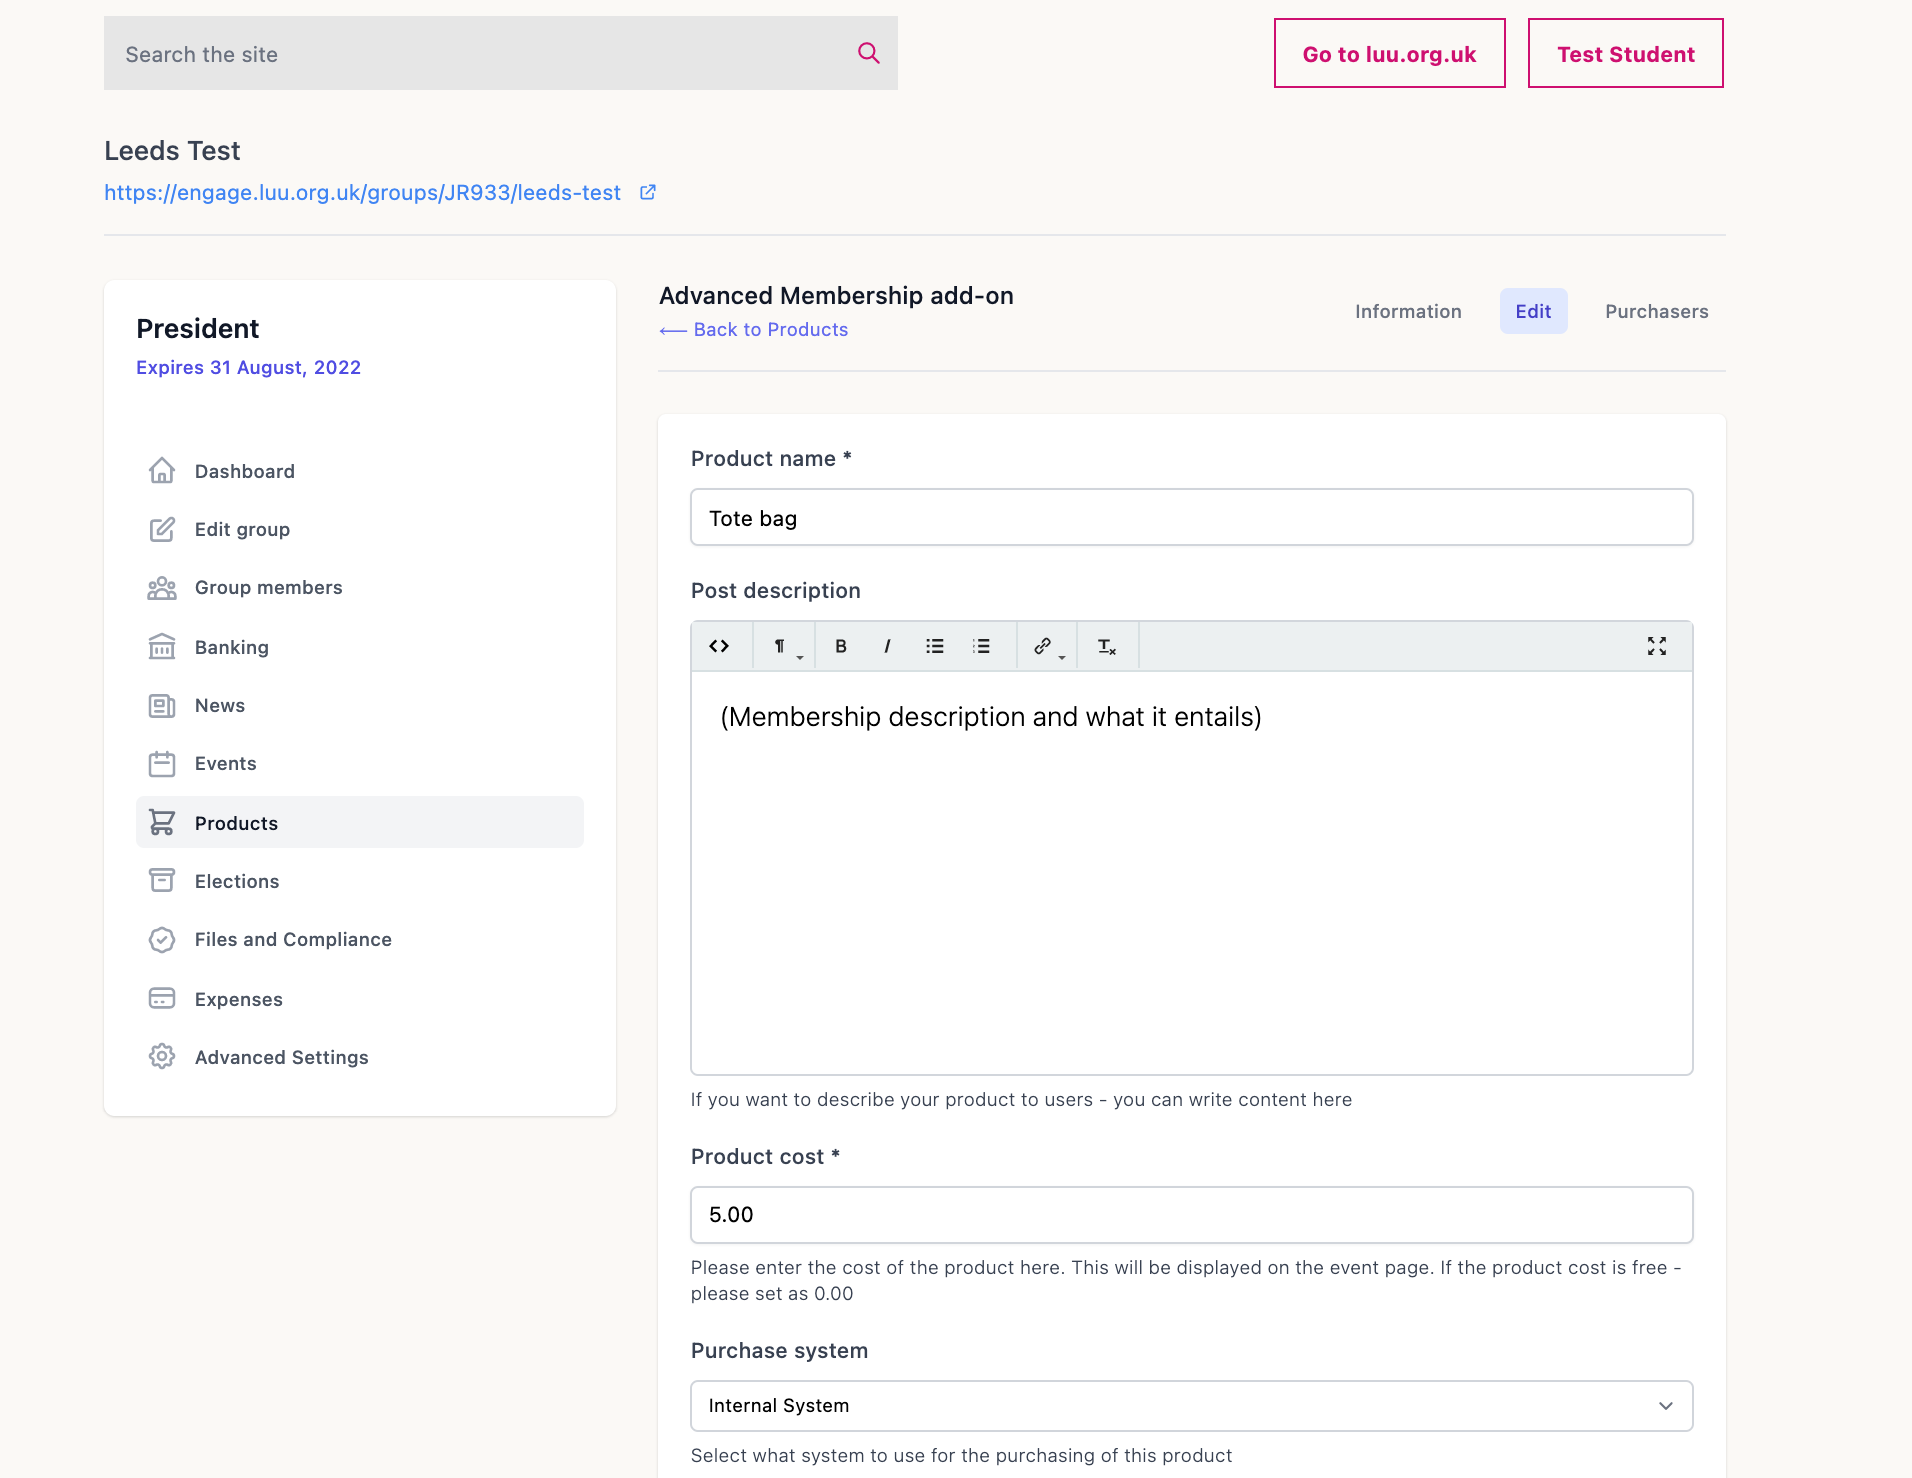
Once you have successfully created the product, you will have the option to edit its details and you can find a list of purchasers as it can be seen from the following 2 images.